
Last updated November 21, 2026
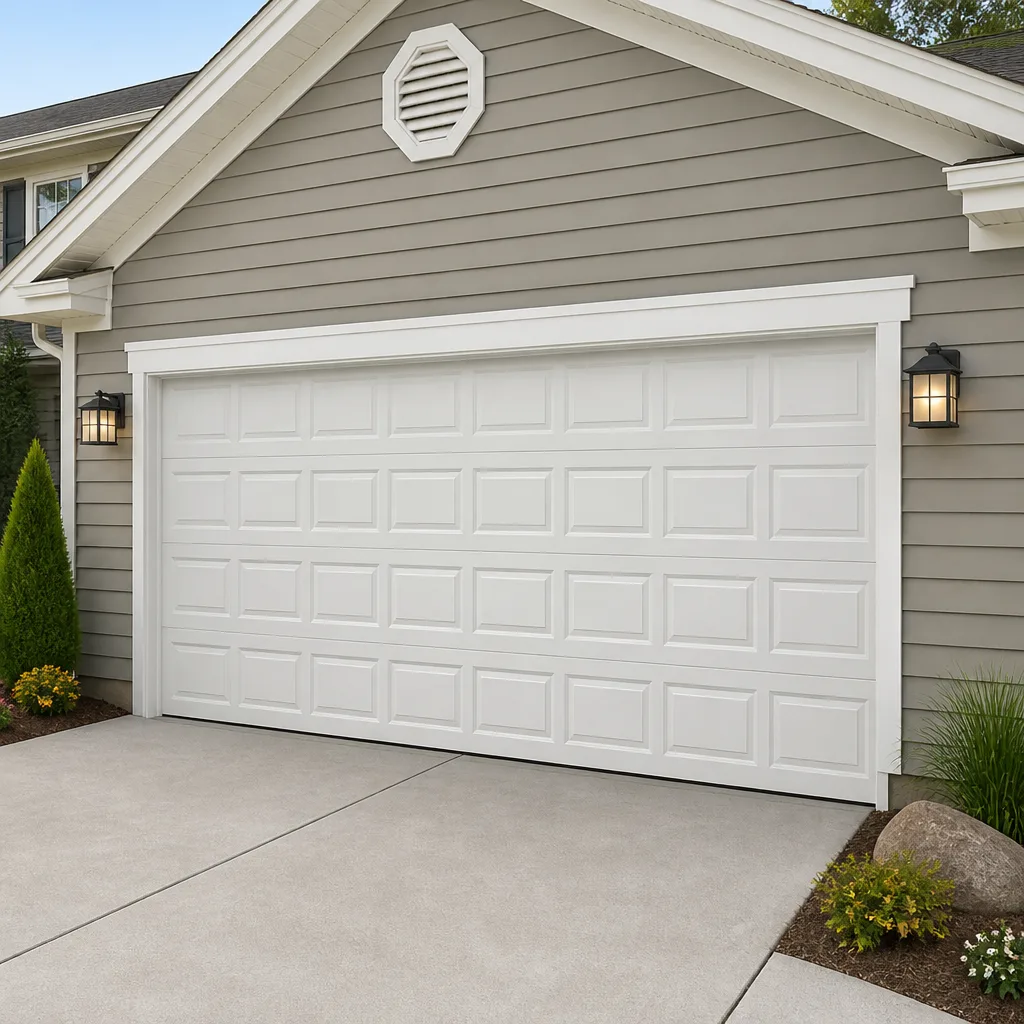 Raised-panel steel
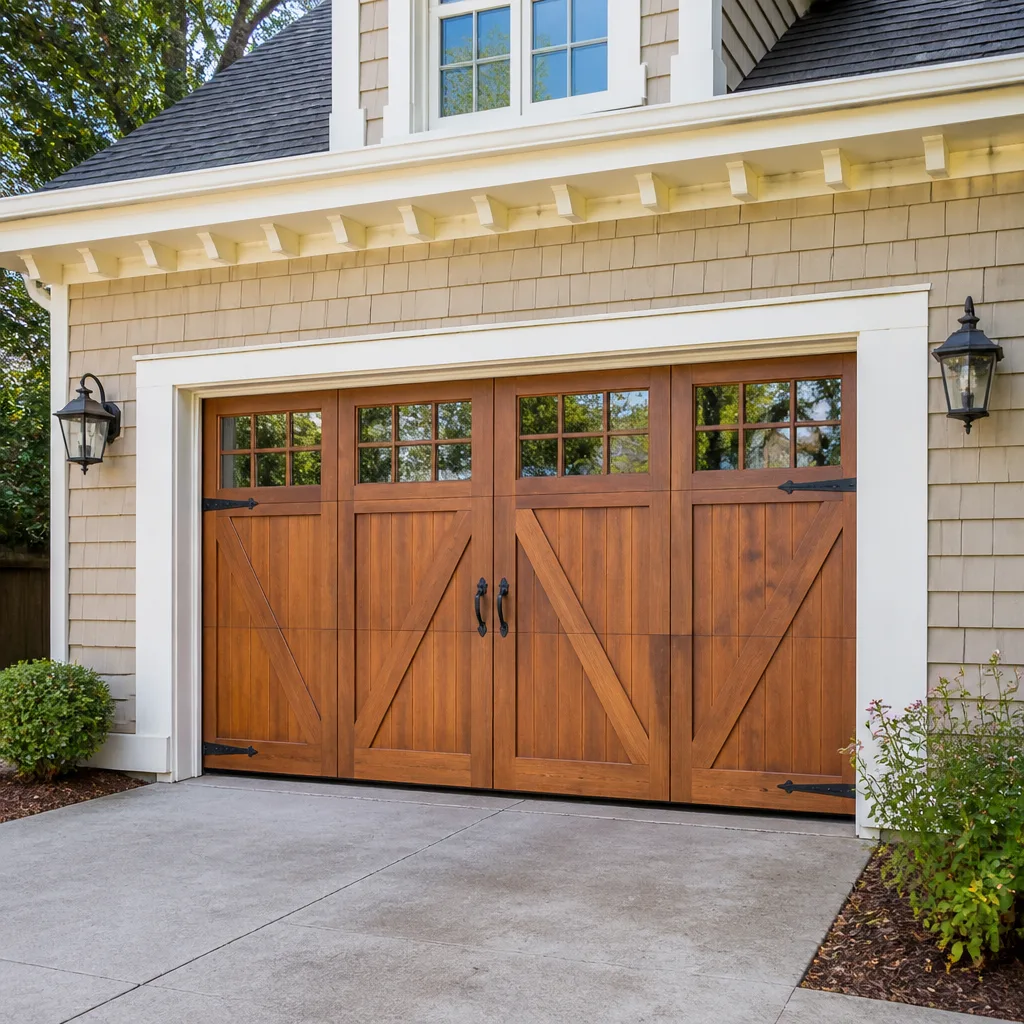 Carriage house
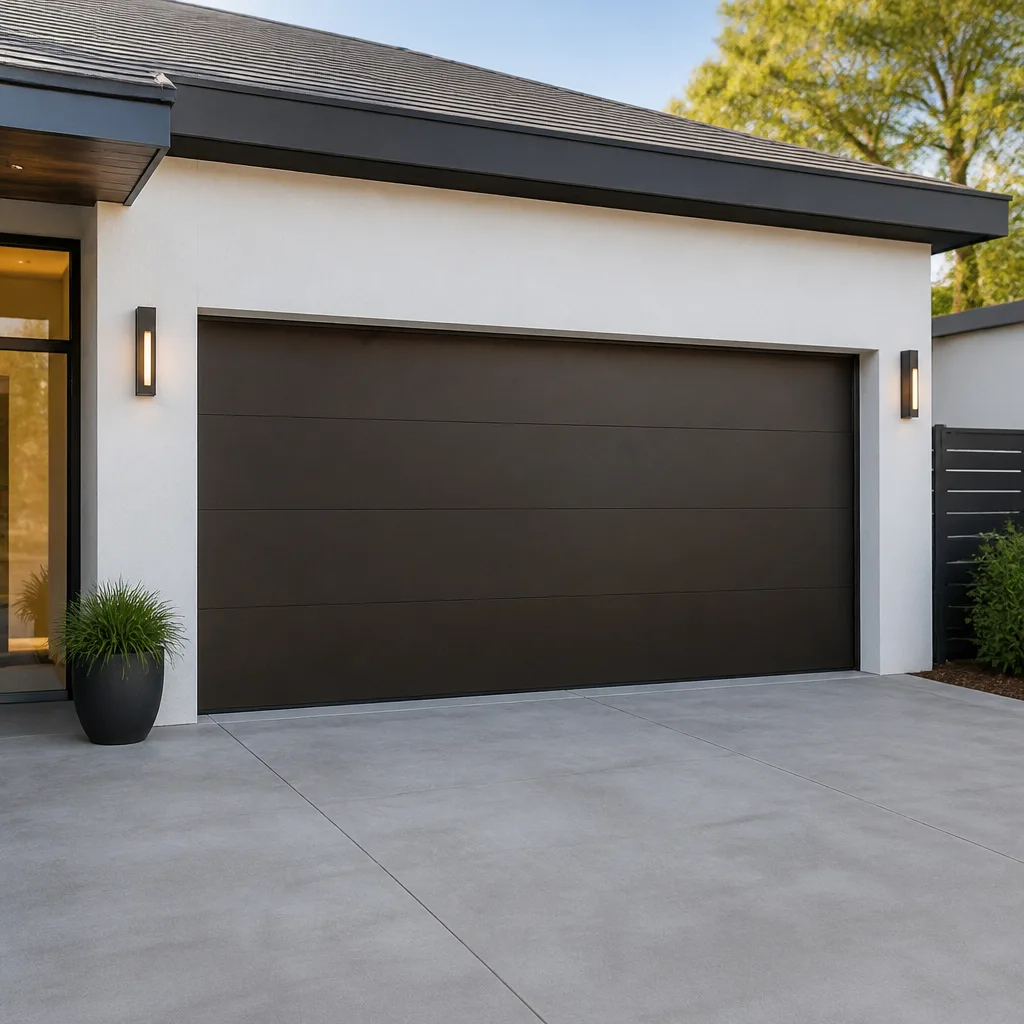 Modern flush
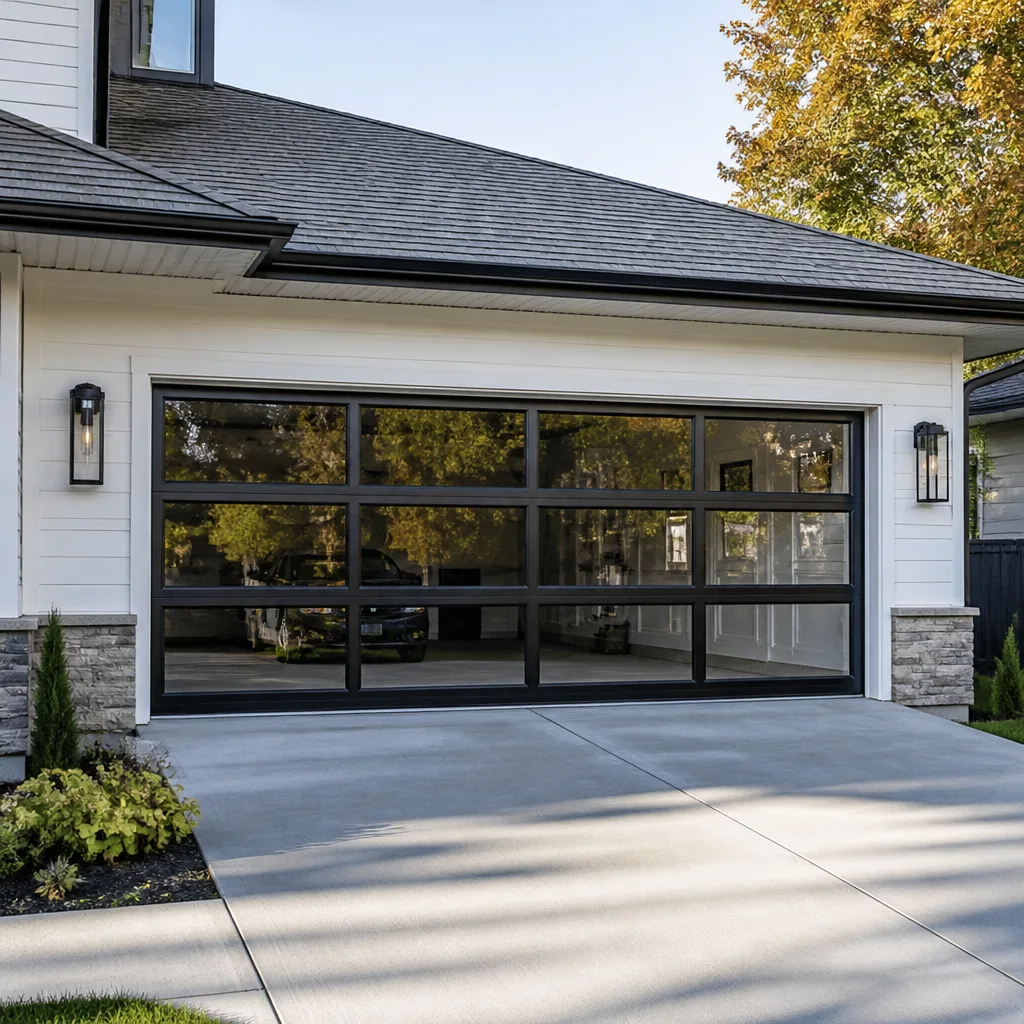 Full-view glass
 LiftMaster openers
 Chamberlain openers
Full 25-point door and opener safety check with every visit - springs, cables, rollers, tracks, and your LiftMaster or Chamberlain opener included
You get a price before we start. It does not change when the pro arrives.
Get your free estimateGarage Door Repair Maintenance Checklist for Fishtown Homeowners
Most garage door springs don’t fail because they’re old. They fail because nobody lubricated them during the two months when it actually mattered: late fall, right before the first hard freeze settles over Philadelphia. Once the temperature drops, the metal in a torsion spring gets brittle and every cycle works it a little harder than the last. A door that ran quiet and easy in October starts groaning in January. This guide gives you a maintenance checklist in the right order – a diagnostic sequence, not a random list of chores – so you catch the failures that lead to emergency calls before they happen. We’ll show you what’s safe to handle yourself in Fishtown and what should stop you cold.
Quick Answer
A solid garage door maintenance checklist for a Fishtown home runs in this order: visual inspection first, then the balance test, then a check of cables and rollers, then spring assessment, and lubricant last. The sequence matters because each step depends on what the one before it tells you. Most of it is genuinely do-it-yourself safe; spring, cable, and opener-wiring work is not, and that’s where a trained technician should step in. Doing a light checklist twice a year – once in late fall before freezing weather and once in spring – prevents most of the breakdowns we get called out for.
Styles & brands we work with
- Raised-panel steel
- Carriage house
- Modern flush
- Full-view glass
- LiftMaster openers
- Chamberlain openers
Table of Contents
- Why the Order of Inspection Matters More Than the Checklist Itself
- Step 1: The Visual Walk-Around
- Step 2: The 60-Second Door Balance Test
- Step 3: Cables, Rollers, and Tracks
- Step 4: Spring Assessment (Read Only, Don’t Touch)
- Step 5: The Right Lubricant for the Right Component
- Where Wear Shows Up Fastest in Fishtown Homes
- What’s DIY-Safe and What Isn’t
Why the Order of Inspection Matters More Than the Checklist Itself
Most checklists you’ll find online are unordered: check the springs, check the cables, lubricate everything, give it a tug. That works, sort of, but it teaches you nothing about cause and effect. A maintenance sequence should answer a question at every stage. Balance tells you whether the springs are carrying the door’s weight. If balance is off, you don’t go poking at cables next – you already know the springs are suspect. Order gives you a diagnosis, not just a to-do list.
Here’s the logic. The door’s weight rides on two systems: the springs that counterbalance it and the cables that connect them to the door. If balance fails, the spring is usually the cause. If balance holds but the door still binds or shudders, the problem usually lives in the rollers, tracks, or hinges. And if the door runs smooth but the opener strains, you’re looking at the opener itself. Each check narrows the field before the next one starts.
On a Fishtown rowhouse, that logic saves you real time. Many garages here are tight single-bay spaces with the door on a shared alley wall, and a binding roller can feel exactly like a weak spring from the driver’s seat. Checking balance before cables before springs keeps you from replacing parts that were never the problem.
- Wrong order: grease everything, assume it’s fine, ignore a balance problem until a spring snaps.
- Right order: observe, isolate the failing system, then maintain the parts that are healthy.
Step 1: The Visual Walk-Around
Start with your eyes and hands, not tools. This is the cheapest five minutes in the whole checklist and it catches most of what a technician would flag on arrival.
Walk the door from the inside first, lights on. Look at the panels for dents, cracks, or separation between sections. Run a hand along the bottom seal and check it for gaps or crumbling rubber. Look up at the tracks on both sides. They should be straight and evenly spaced. Then check the hinges, the brackets, and the safety sensors near the floor on each side of the opening.
- Inspect door panels for dents, cracks, and panel separation.
- Check the bottom rubber seal for gaps, tears, or hardening.
- Confirm both vertical and horizontal tracks are straight and aligned.
- Look at hinges and brackets for rust, loose bolts, or cracks.
- Make sure both safety sensors are mounted firmly and facing each other.
- Test the safety reverse: put a roll of paper towel under the door and close it. The door should reverse when it hits it.
In Fishtown, the bottom seal check deserves extra attention. Snowmelt and rain running into an alley garage collects at the door threshold, and a hardened or torn seal lets water inside where it sits against the bottom panel. Once you see surface rust climbing the bottom section, you’re already behind.
If the safety sensors don’t reverse the door when it hits an obstruction, do not operate the door on automatic. That’s a call-now item, whether or not you plan to do the rest of the checklist.
Step 2: The 60-Second Door Balance Test
The balance test answers one question: are the springs doing the heavy lifting, or is the opener? Here’s how to run it safely.
- Close the door fully and pull the manual release cord to disconnect the opener. The door is now running on springs and tracks alone.
- Lift the door by hand to about waist height.
- Let go gently and step back.
- A balanced door stays put where you left it. Wait five seconds to watch what it does.
If the door sags down on its own, the springs are tired. If it wants to rise, the springs are over-tensioned. Either way, the springs need professional adjustment. If it stays put, the balance is fine and you can continue to the next step.
Before you start, glance up at the spring. If you can see a visible gap in a torsion spring, or a stretched-out open coil where the spring looks like a loose slinky, stop. That’s a broken spring and the balance test is now dangerous because the door is being held by the opener and cables alone. Don’t pull the release on a door with a visibly broken spring. Call for professional help before you run any test.
The balance test is the single most useful piece of information you can give a technician when you call, and it’s why it comes before the cable and spring checks. A door that was balanced last fall and now sags tells you the spring is losing tension, which usually means wear is accelerating.
Step 3: Cables, Rollers, and Tracks
With balance confirmed, your next focus is the hardware that moves the door. The cables run from the bottom corner brackets up over the drums on the torsion shaft (or along the sides on an extension-spring door). Look for fraying, kinks, or flat spots. Run your fingers gently along the visible cable, not the part at the drum. Any broken wire strands, rust, or a cable wound unevenly mean the cable should be replaced by a professional before you operate the door.
Rollers sit inside the tracks and carry the door up and down. With the door at mid-height, you can often see the rollers from the side. A healthy roller is round and turns freely. A worn one is wobbling, flat-spotted, or squealing. Most doors use steel or nylon rollers, and nylon rollers show wear less obviously – they’ll look fine but rotate rough.
Tracks should be straight and clean. Wipe them down, check the bolts at the brackets, and make sure the door stays centered as it travels. Bent tracks should not be straightened by hand; a real bend is a heavy piece of metal being levered by an opener, and it’s a call for a technician.
- Cables: any fraying means a professional replacement. Do not try it yourself – cables are under high tension.
- Rollers: worn rollers are a genuine DIY swap on most doors, but check roller diameter and mount type before buying replacements.
- Tracks: wipe them clean and check alignment. Do not force them straight.
- Hinges and brackets: tighten loose bolts and replace any hinge that’s visibly cracked.
These are the physical points where an aging door fails: cables fray, rollers flatten, and brackets work loose over a few seasons of Fishtown temperature swings.
Step 4: Spring Assessment (Read Only, Don’t Touch)
Springs are the single most dangerous part of any garage door, and this is where a maintenance checklist hands off to a professional. Torsion springs store the door’s weight as torque. A torsion spring can be holding hundreds of pounds of force and snap with no warning. This is not a component to test, adjust, or replace yourself.
Your job in this step is limited to observation from a safe distance:
- Look for a visible gap in a torsion spring.
- Check whether the coils look stretched out or unevenly spaced.
- Listen for a loud bang that leaves the door unable to open – that’s the sound of a spring breaking.
- Notice whether the door became suddenly heavier or harder to move by hand.
Any of these is a call-now signal. Broken springs are one of the top two reasons customers need emergency help, and it’s why spring repair is a core service we handle carefully and deliberately. A door with a broken spring should not be operated; the opener alone can’t lift the weight and it can bend cables and twist tracks. On a single-bay rowhouse garage in Fishtown, a broken spring usually means a trapped car and a door that won’t move at all.
Even if the spring looks intact, its lifespan is finite. Ask a technician during any service call how the springs look – they can judge wear that you can’t.
Step 5: The Right Lubricant for the Right Component
Once the door passes checks for balance, cables, and springs, maintenance lubrication is genuinely worth doing. And this is the part most homeowners get wrong. Not everything on a garage door should be greased, and some products can make things worse.
Use a non-silicone white lithium grease or a purpose-made garage door lubricant for the rollers, hinges, torsion shaft bearings, and any pivot points. Spray sparingly – a light film on the moving surfaces is enough. Excess grease attracts dirt and grime that works against you.
What never goes on a garage door:
- WD-40 as a long-term lubricant. It’s a solvent, not a grease. It’ll quiet a squeak for a week and then attract dust.
- Heavy axle grease or wheel bearing grease. Too thick for rollers and hinges; it gums up.
- Any spray on the torsion spring coils themselves. Springs should not be lubricated by a homeowner. Skip them.
- Grease on the tracks. Tracks should be clean and dry. Greased tracks trap debris and slow the rollers.
- Any spray on the opener’s rail or drive screw – check the opener manual first. Some brands, including Genie and Chamberlain, have specific guidance on their rails.
Do your lubrication in late fall before the first hard freeze, and again in spring after a winter of road salt. The freeze is what makes the difference here. Once the ground freezes and humidity drops, the door has less tolerance for metal running dry.
Where Wear Shows Up Fastest in Fishtown Homes
The climate and the way Fishtown’s garages are built both affect where a door fails. Here’s where we’ve seen wear hit first on this neighborhood’s doors.
Philadelphia winters bring a mix of freeze and thaw that’s hard on springs. The metal contracts in the cold and expands as the temperature climbs again, and every one of those cycles works the spring slightly harder. That’s why lubrication in late fall matters more than a spring service in July. If you do only one maintenance task a year, make it the fall lube.
Road salt and brine are the second great enemy of garage hardware. If your garage opens onto a street or alley that sees plowing and salting, the brine tracks in on tires and boots, then collects in the bottom bracket, cables, and hinges near the floor. Watch the bottom third of the door and the corner brackets on the ground for rust. A wipe-down and a light grease on those points in spring slows the damage.
Tight rowhouse construction makes another difference. Many Fishtown garages sit directly under living space or share a wall with the neighbor, so a bent track or a strained opener sounds louder into the house than it would in a detached garage. And a lot of these old doors have been through several opener upgrades over the years. Common setups run LiftMaster and Chamberlain openers with either Clopay or Amarr doors, and each combo has its own quirks for the rail and the bracket mounting. Knowing the brand makes diagnosis faster. If your door needs more than lubrication or a roller, that falls to garage door repair before it turns into an emergency call.
What’s DIY-Safe and What Isn’t
Not every item on this checklist belongs in a homeowner’s hands. Here’s the honest split.
DIY-safe:
- Visual inspection of panels, tracks, hinges, and rollers.
- The 60-second balance test (as long as no spring is visibly broken).
- Lubrication of rollers, hinges, and bearings.
- Wiping down tracks and the bottom seal.
- Testing the safety reverse function.
- Tightening loose bolts on hinges and brackets.
Not DIY-safe under any circumstances:
- Springs. Torsion and extension springs are under extreme tension. This is not a DIY repair. Doing it wrong can cause serious injury.
- Cables. Cables hold the door’s weight and are under high tension. A cable that lets go can whip and cause serious harm.
- Opener wiring and electrical panel work. If the opener isn’t working, that’s often a motor or board issue, and any electrical troubleshooting of the wiring or the panel needs a trained technician.
- Bent tracks that need straightening. A technician with the right tools can correct a track safely; forcing it by hand can break it and release the door.
The dividing line is clear: anything that sees the door’s stored weight goes to a trained professional. If you need that work done, garage door opener repair and spring service are both in-house for us, so you’re not chasing two different companies.
Common Mistakes to Avoid
- Greasing the tracks. Lubricating the tracks is the opposite of what you want – it attracts grit that wears rollers faster. Wipe them clean and leave them dry.
- Skipping the fall lubrication window. Late fall before the freeze is the single highest-value maintenance window of the year. Doing it in spring instead misses the freeze entirely.
- Pulling the opener release on a door with a broken spring. The door is only being held by cables at that point, and letting it close freely can twist the tracks and put you in danger. Leave it be and call.
- Over-tightening a loose hinge bracket. Snug is enough. Over-tightening cracks the hinge and damages the panel.
- Using WD-40 as a silicone substitute on hinges and rollers. It’s a short-term fix that leaves the moving parts drier than before once it evaporates.
- Assuming a quiet door is a healthy door. A worn roller or a cable starting to fray can run silently for weeks before the failure. The visual walk-around matters as much as the noise test.
- Doing the balance test on a door you can’t confirm has no broken spring. Look up at the spring before you pull the release.
See the difference
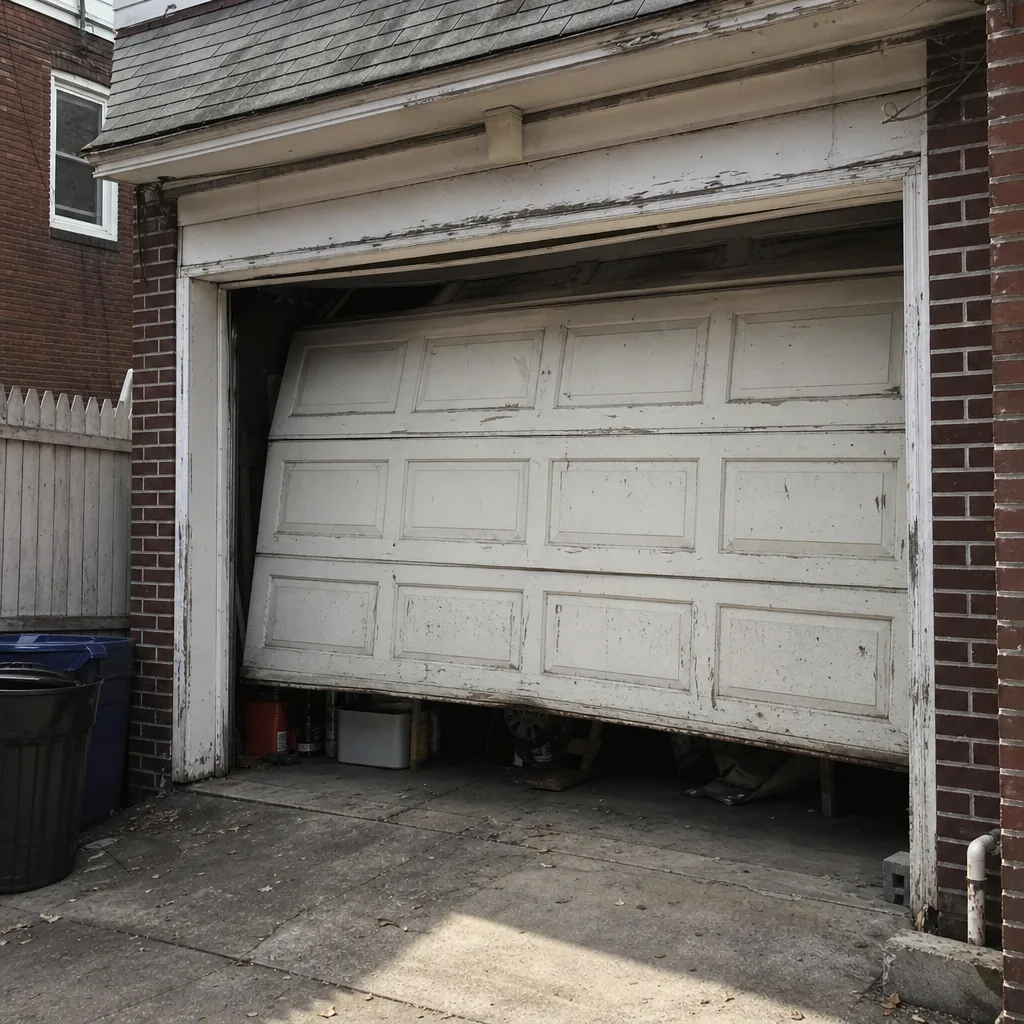 Before
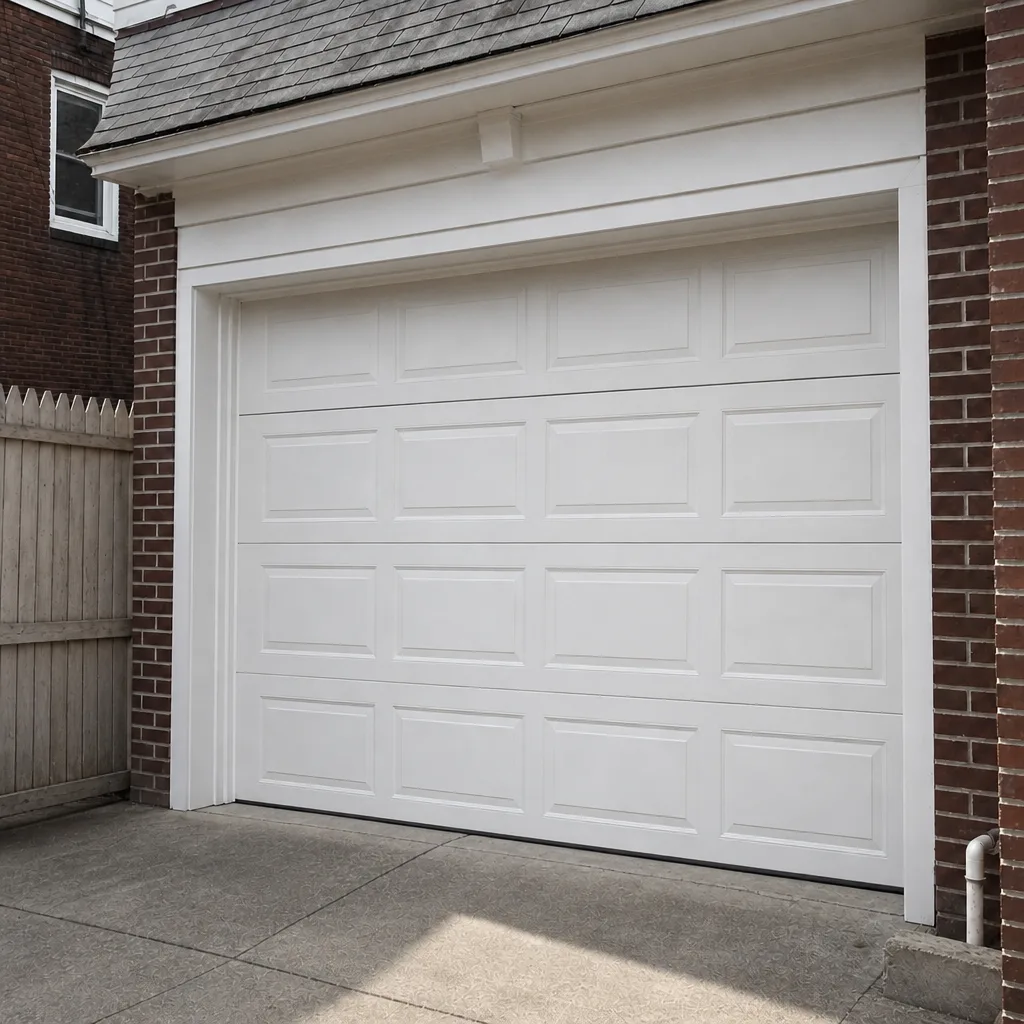 After
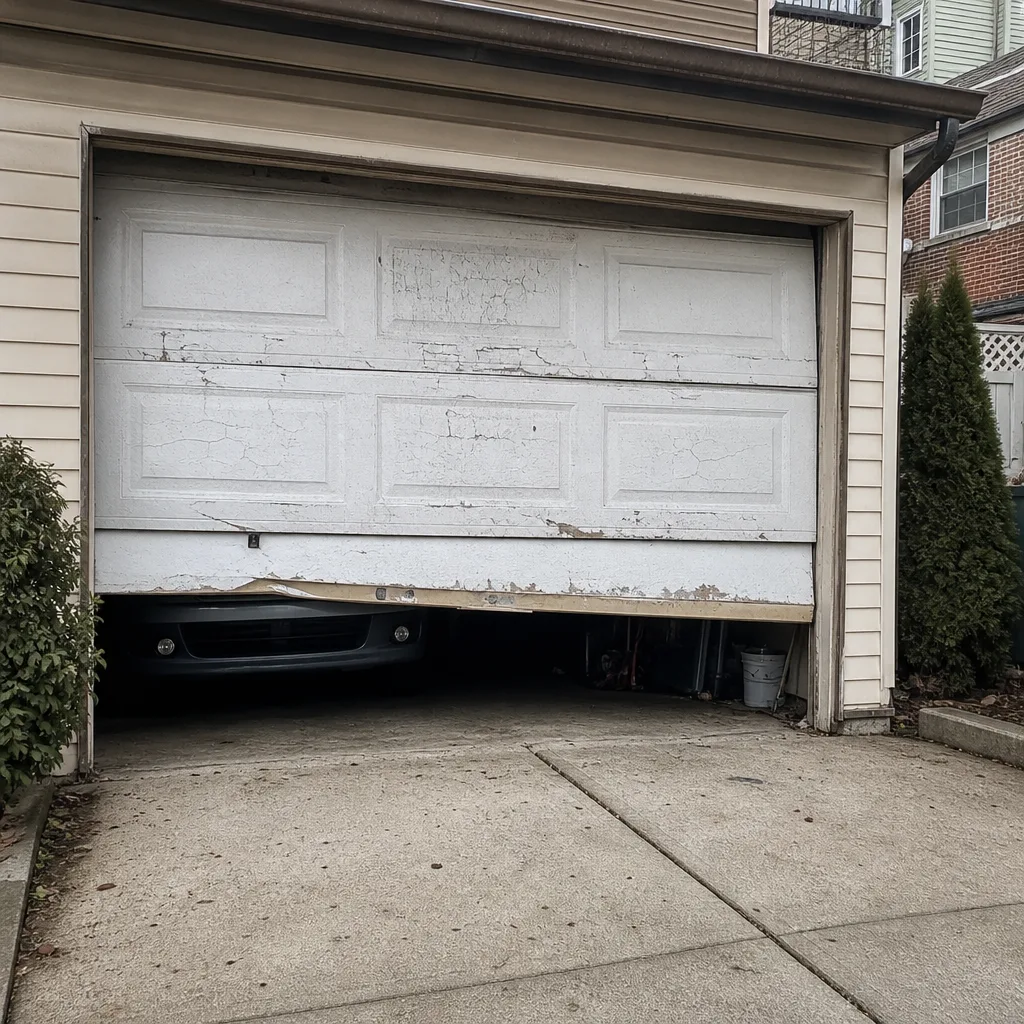 Before
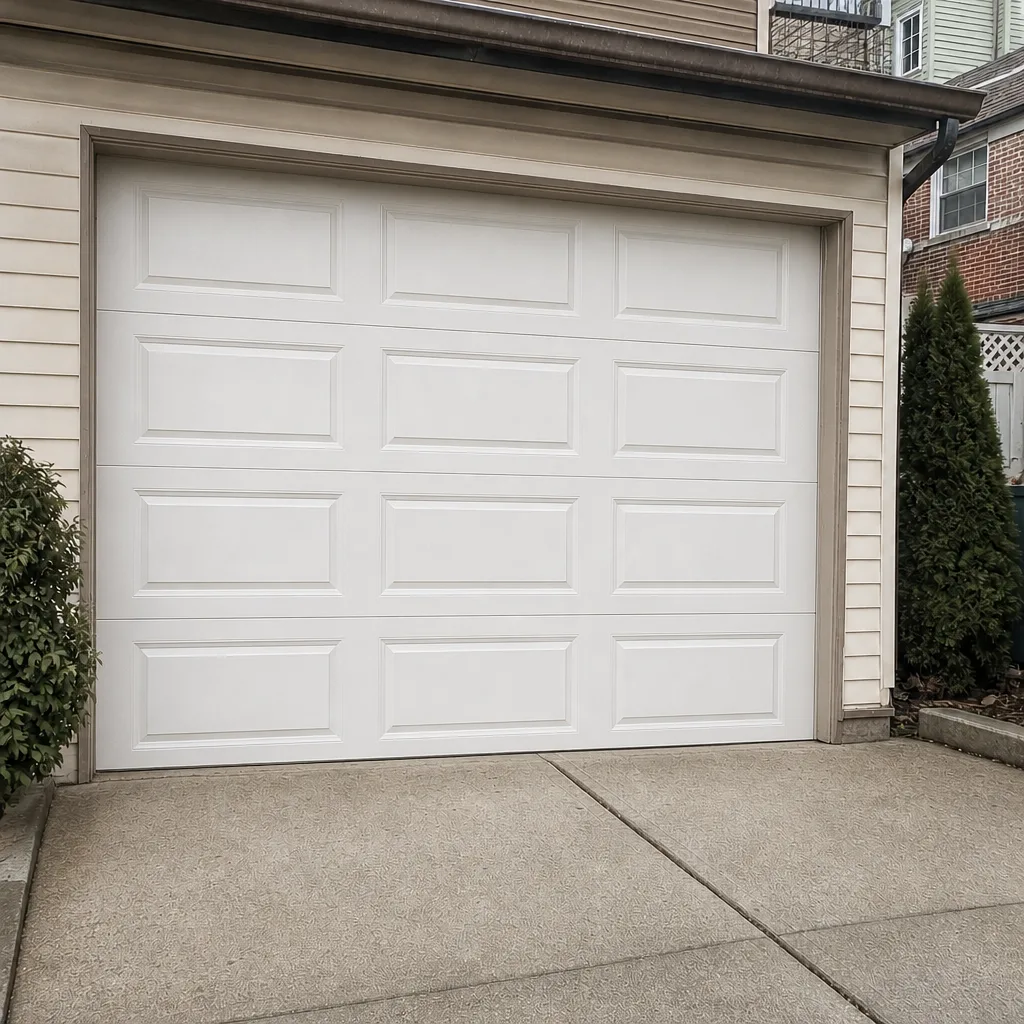 After
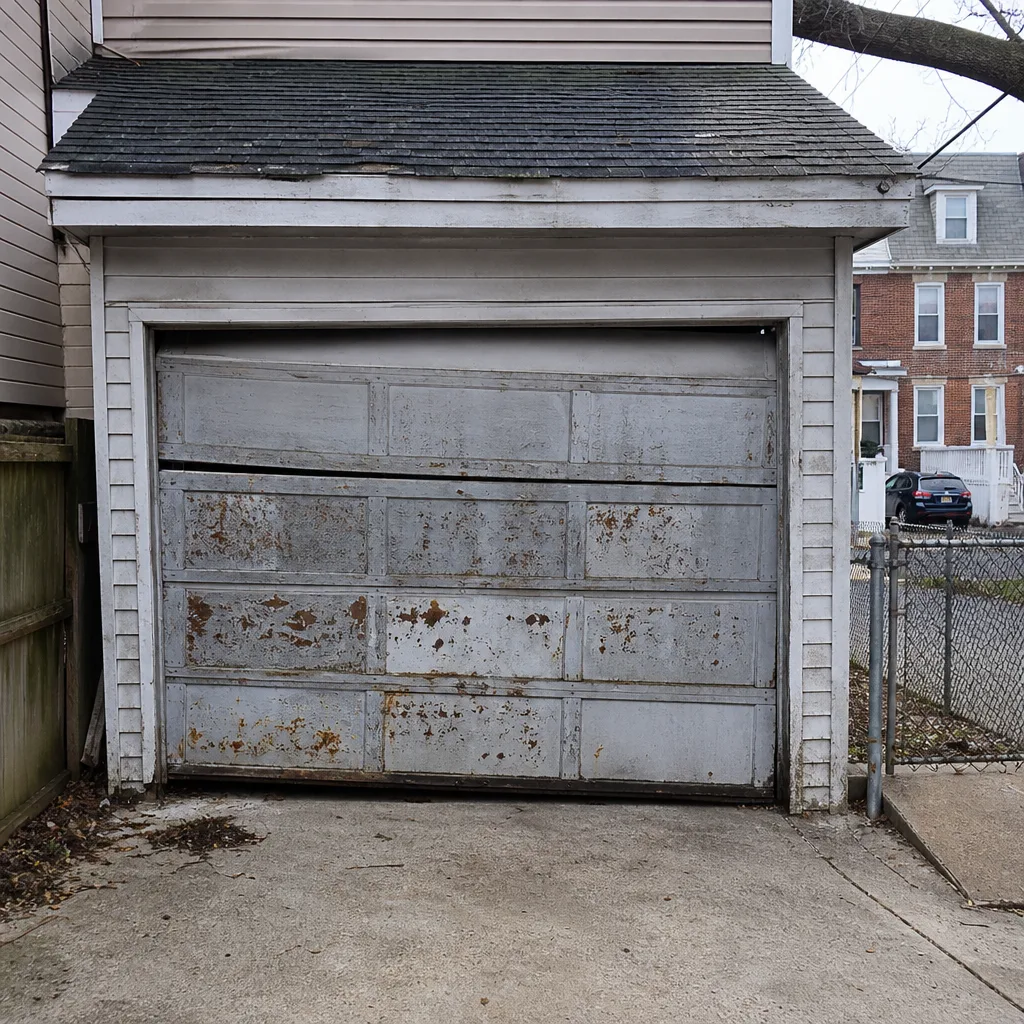 Before
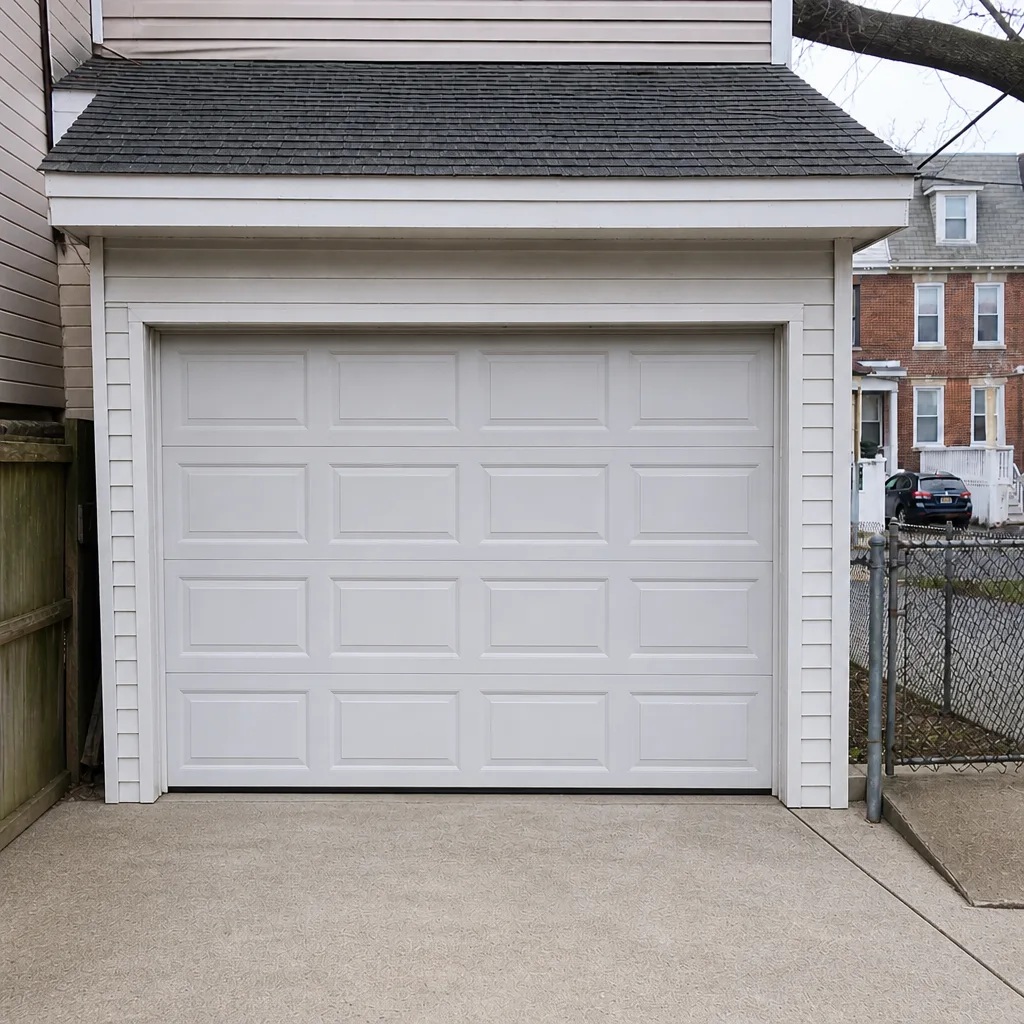 After
When to Call a Professional
Call a technician when: the balance test shows a sag or rise (spring adjustment); a spring has visibly snapped or the door suddenly won’t lift; a cable is frayed or a cable has come off the drum; the safety reverse doesn’t work; a track is bent; the opener grinds, hums without lifting, or won’t respond; or you’ve had a door that suddenly needs manual assistance to open. Any of those scenarios means stop the checklist and get trained eyes on it – the cost of putting off a spring replacement is often a door that’s much harder to fix.
If you’re looking at a spring, cable, or opener issue, or you want a full safety check before winter, Garage Door Repair Fishtown offers free estimates in Fishtown – call (833) 468-3037. We answer 24/7, with fast dispatch from 7am to 7pm, Sunday through Friday. Our technicians have up to 11 years of experience, and we work on the brand already in your garage – whether that’s a LiftMaster, Chamberlain, Genie, Clopay, Amarr, Wayne Dalton, Craftsman, or Raynor system. The estimate is free, the price is written before any work starts, and you’ll know exactly what’s being replaced and why.
Frequently Asked Questions
Twice a year is the practical answer: once in late fall before the first freeze, and once in spring after winter salt and grit have had their turn. The fall check matters more, because lubrication before the cold protects the springs and metal components through the freeze season. If you can only manage one, make it October or early November.
No. Springs are under extreme tension and should not be lubricated, adjusted, or touched by a homeowner – the risk is serious injury. Rollers, hinges, and bearings are the parts you can lubricate yourself with a proper garage door grease. If a technician is already there for another issue, they can assess the springs while they’re on site. Call (833) 468-3037 if you want a professional to look at them.
Cost depends entirely on the component being replaced and the door type, so there’s no single number. Roller and hinge jobs cost less than spring or cable work, and full opener replacement is a different scope altogether. Every estimate we give is written and agreed before any work starts, so the final price is the one you agreed to. Call us for a free estimate on the specific issue.
A door that sags when you let go at mid-height means the springs are no longer carrying their share of the door’s weight – they’re losing tension or wearing. It doesn’t always mean a full replacement, but it does mean a professional spring adjustment or replacement is due. Don’t keep running the door on the opener alone; the opener will strain and may fail.
No, and this is one of the questions we get asked most. We inspect the door, quote the work in a written estimate, and confirm it with you before anything starts. If we find something unexpected on inspection, we tell you before touching anything else. The price you agree to is the price. Call (833) 468-3037 for an exact quote.
No. This is the single most dangerous repair on a garage door and it should only be done by a trained technician. Springs store enormous force, and a spring that slips during installation can cause serious injury. This is one of those jobs where the professional cost is well worth it. If your spring has gone, call (833) 468-3037.
If the opener hums but the door doesn’t move, the drive gear or the motor is likely the culprit, and that’s a repair. If the opener is old and multiple components are failing at once, replacement may be the better value. Our technicians are trained on LiftMaster, Chamberlain, Genie, and Craftsman openers and will diagnose the actual failure rather than guess. If you’re not sure, call for a free estimate – we’ll tell you honestly whether it’s repairable or should be replaced.
The Bottom Line
A garage door maintenance checklist works best as a diagnostic sequence, not a random set of chores. Run the visual walk-around, then the 60-second balance test, then the cable and roller check, then a read-only spring assessment, then lubricate last. The single most important task is fall lubrication before the freeze – more than any other step, it protects the springs that cause most emergency calls. Keep the DIY work to what’s genuinely safe, and hand anything involving springs, cables, or opener wiring to a trained technician. If you need a full inspection or spring, cable, or opener work in Fishtown, call (833) 468-3037 for a free estimate. We answer 24/7, with fast dispatch from 7am to 7pm, Sunday through Friday.
Written by the team at Garage Door Repair Fishtown.